
HOMEMADE RECIPES
Kombucha with Raspberry and Hibiscus
1. Get a SCOBY
To prepare a kombucha recipe, you need a kombucha mother, also called SCOBY, a symbiotic culture of bacteria and yeast. This strain must always be kept in its preserving liquid; both are needed to start the fermentation process. So how do you get it? By asking a friend who makes their own kombucha to share a specimen or by ordering it online (some members of our team ordered it from Revolution Fermentation).
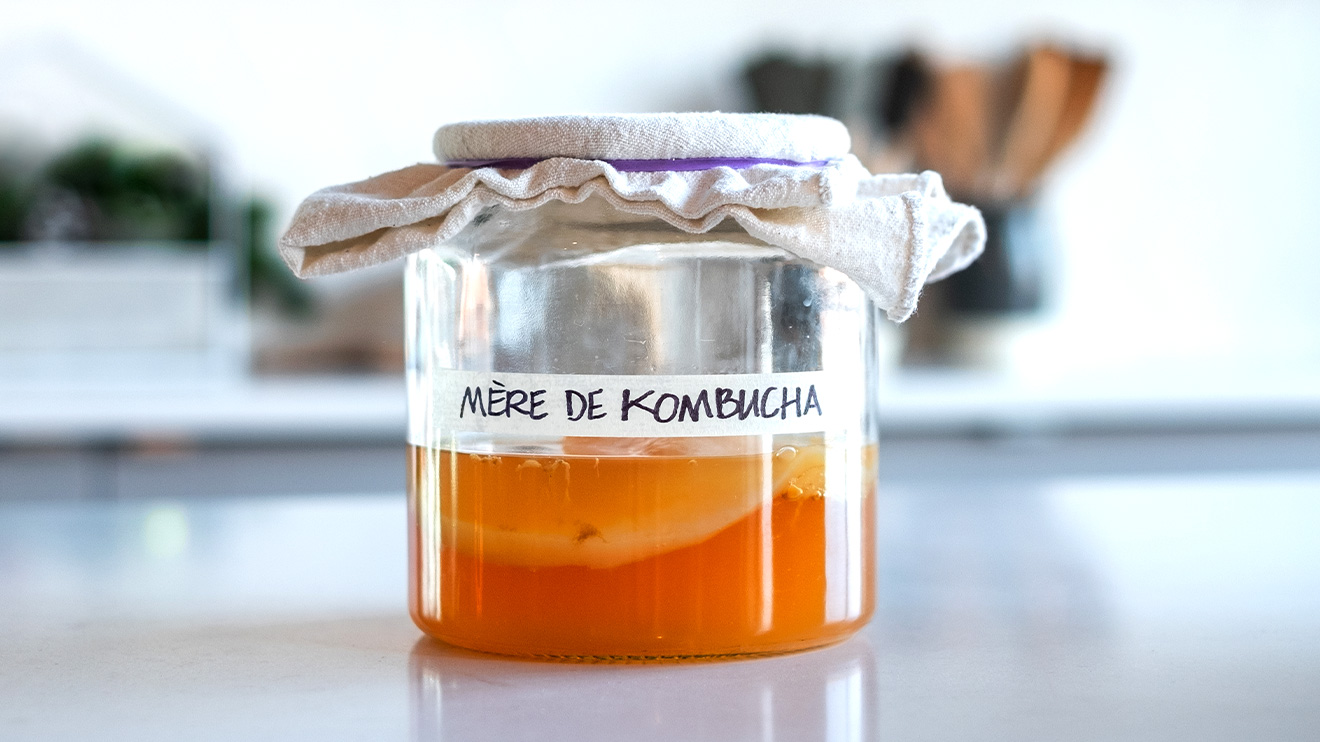
The mother of cultured kombucha usually comes in the form of a cellulose disc similar to gelatin. It adapts to the size of the container in which it lives and develops into successive layers; the youngest—white in colour—is the one exposed to air. The older layer below decomposes slowly, leaving a deposit at the bottom of the container that blurs the liquid. A mother strain has a lifespan of about three or four months. It then becomes less active and spongier.
2. The first fermentation
Fermentation is divided into two phases. The first is where we pour the sweet tea into a large container that is diluted with filtered water. The kombucha mother and its preserving liquid are added as soon as the tea mixture gets to room temperature (between 68 and 72 degrees Fahrenheit/20 and 22 degrees Celsius).
3. Oxygenation
The exchange of air is essential to the activity of the kombucha mother, which feeds on sugar. Therefore, do not seal the container; simply cover it with a clean cloth or stamen (cheesecloth) that protects it from dust and mosquitoes—which are attracted to the smell of vinegar.
4. Storing
During the kombucha fermentation period, place it in an open cupboard above a refrigerator or directly on top of the refrigerator. The temperature there easily reaches 77 to 81 degrees Fahrenheit (25 to 27 degrees Celsius), which is optimal for the fermentation process.
5. The first bubbles
After five days, the acidity of the liquid will give the impression of a slight fizz in the mouth, but it’s the carbon dioxide released during the second fermentation that will bring the final effervescence to the drink. The kombucha mother can be removed and stored with a little liquid (see step 4 of the recipe). The microparticles that have detached from it will continue the work.
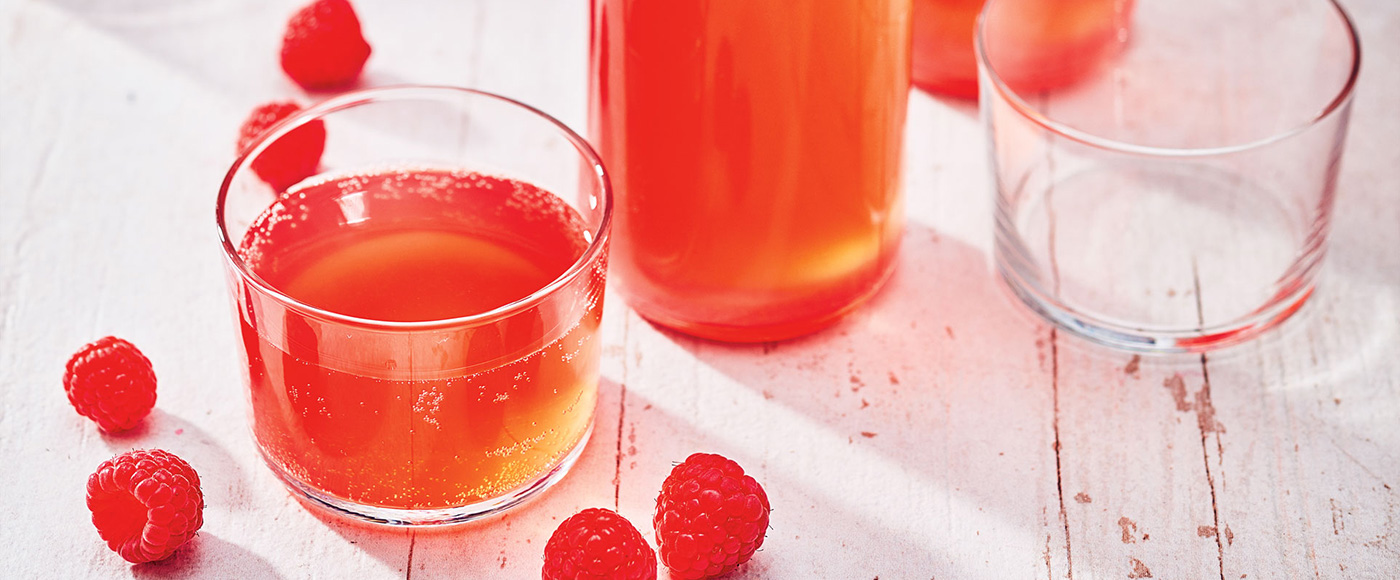
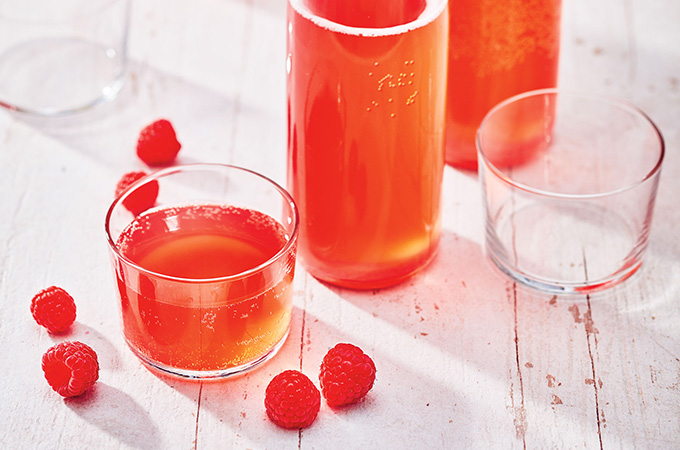
6. Bottling and adding flavours
Add your flavourings to mechanical cork bottles or Mason-type jars before the transfer of the kombucha. Ours is made from bags of raspberry and hibiscus herbal tea infused in a sweet water with ginger juice. The latter brings an interesting pungent taste.
7. The second fermentation
For this second fermentation phase, the bottles are left on the kitchen counter for two weeks, at room temperature, and ideally in plain sight, so as not to forget them! At this stage, the drink will have acidified, but residual sugar will still be present. Respect this step: It allows fermentation to slow down its acidity, which avoids excessive formation of carbon dioxide.
8. Place in the refrigerator
All that remains is to store the bottles in the refrigerator in order to “put a pause” on the process. The kombucha will be ready to drink as soon as it cools down.
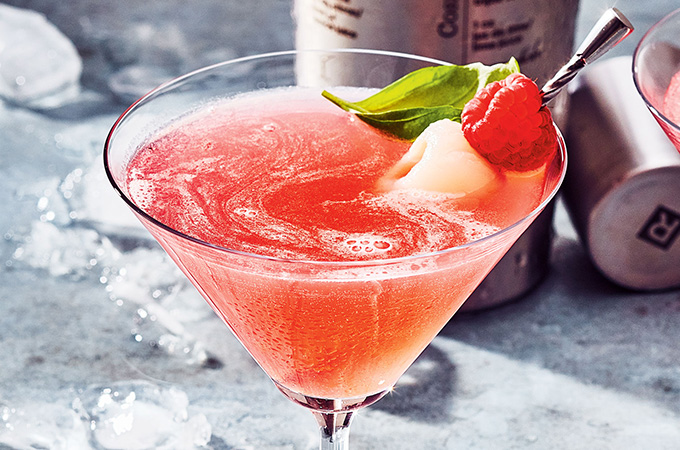
We drink our kombucha cold or use it in cocktails like our kombucha, raspberry and lychee cosmo, which benefits from an effervescent side. Cheers!