HOMEMAMDE RECIPES
Sourdough Bread
- - Weigh well: For best results, we suggest weighing the ingredients rather than measuring them in a cup. The quantities will be more precise and the bre ad will be better.
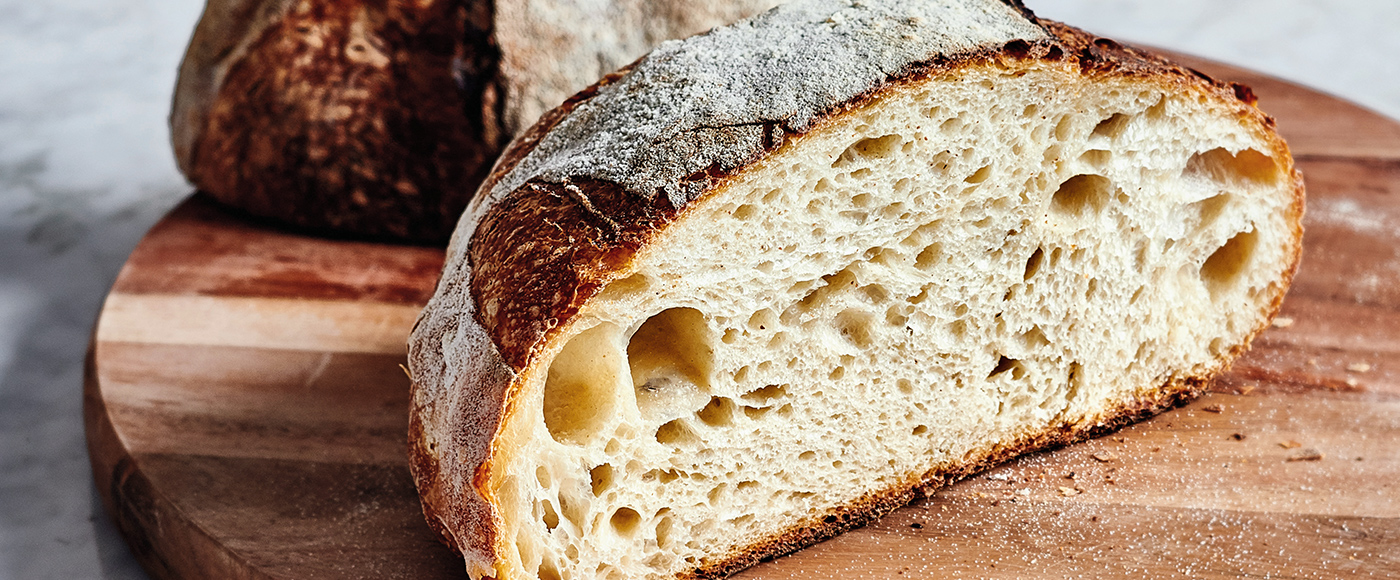
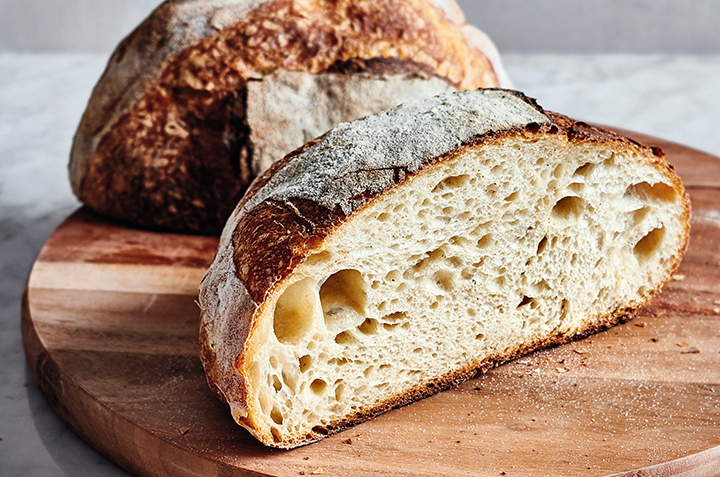
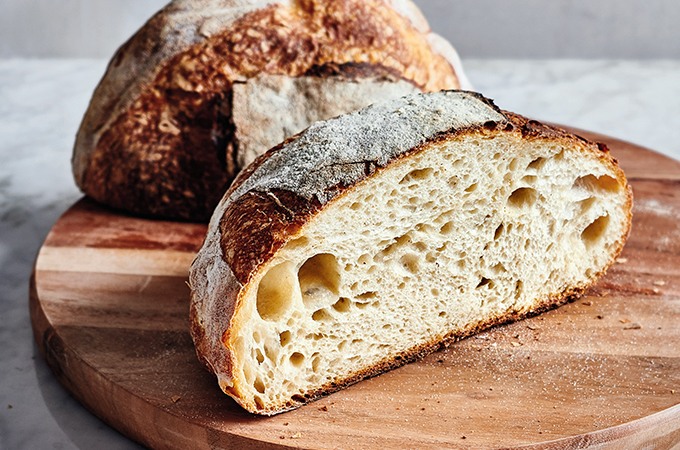
- - A touch of water: A loaf of bread needs moisture. If it is not wet enough, it will be easier to handle during the shaping step, but denser when it comes out of the oven. Conversely, if we increase the amount of water, the crumb will be more flexible, but more difficult to work with. We advise you to try adding a little water at a time, or add a little less than the recipe requires (more or less 1 tablespoon), in order to find your sweet spot.
- - Flours: The white bread flour used in this recipe has a higher gluten content than unbleached all-purpose flour. Although the latter makes beautiful loaves, bread flour is better suited for sourdough bread by lending it a more elastic dough. Once you’ve got the hang of it, vary the flours by replacing part of the white flour with whole flours, like rye, spelt, kamut... But remember to always keep at least 50% white bread flour to allow the bread to rise properly. Have fun and write down the changes you make. You will be able to observe the differences between each batch to get a sourdough bread you like!
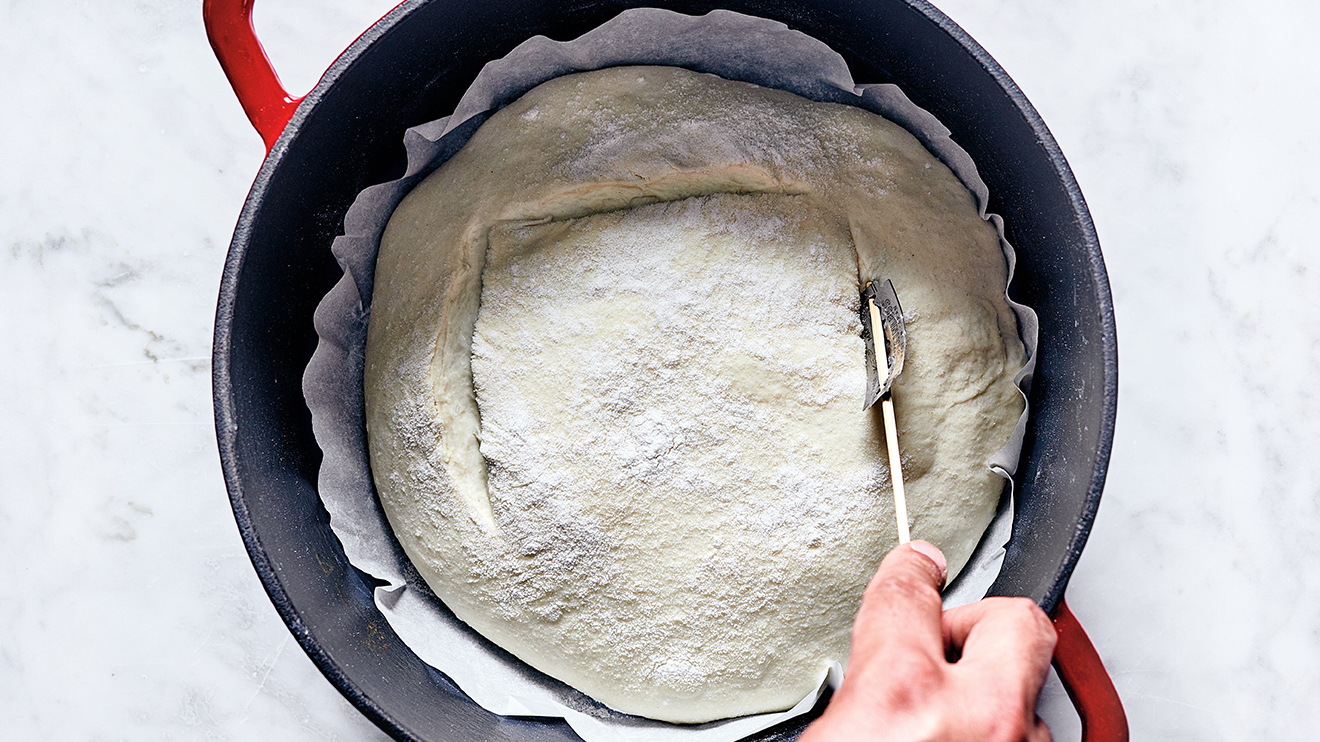
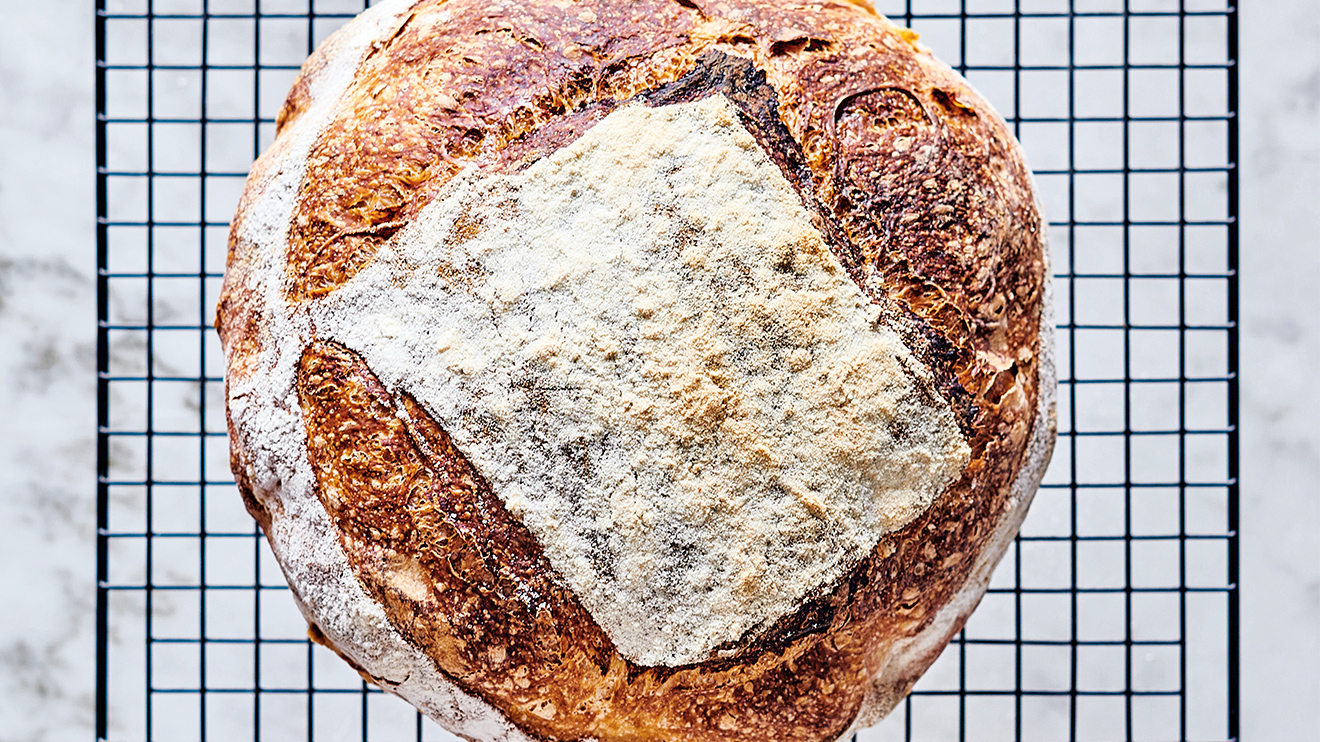
- - Blade strokes: It is suggested to score the dough before baking—incisions with a depth of about 1 cm, at a slightly inward angle. This will allow the bread to bake evenly in the oven and release gases. This technique also prevents the loaf from tearing on all sides and helps to make a beautiful crust. To do this, you can make your own instrument by attaching a razor blade to the end of a wooden skewer. A sharp knife also does the job. Some say the scoring of bread is the baker’s signature, so be creative!
Step by step
1. In a bowl, whisk together flour and salt, and form a well in the centre.
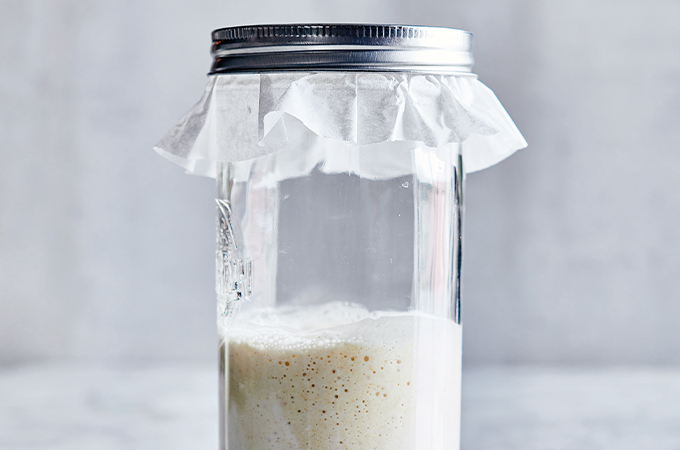
2. In another bowl, whisk the sourdough with water until it is completely dissolved.
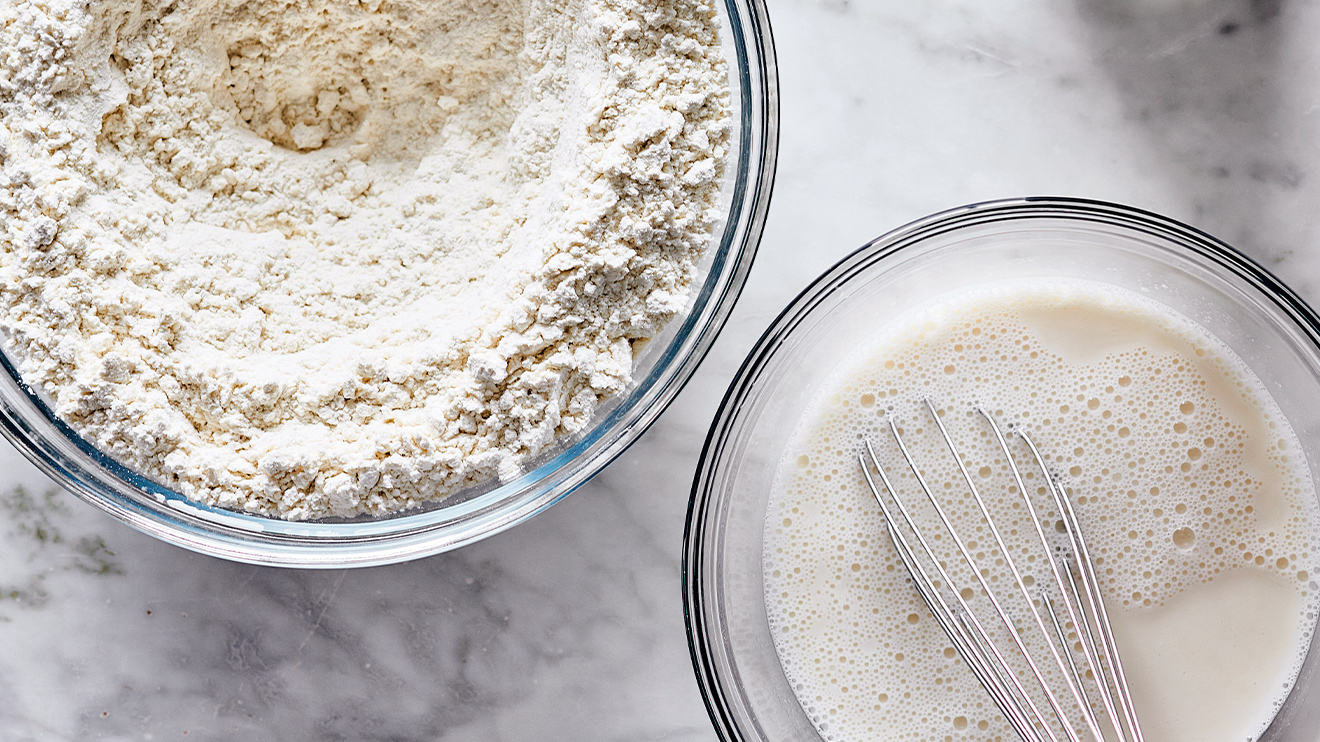
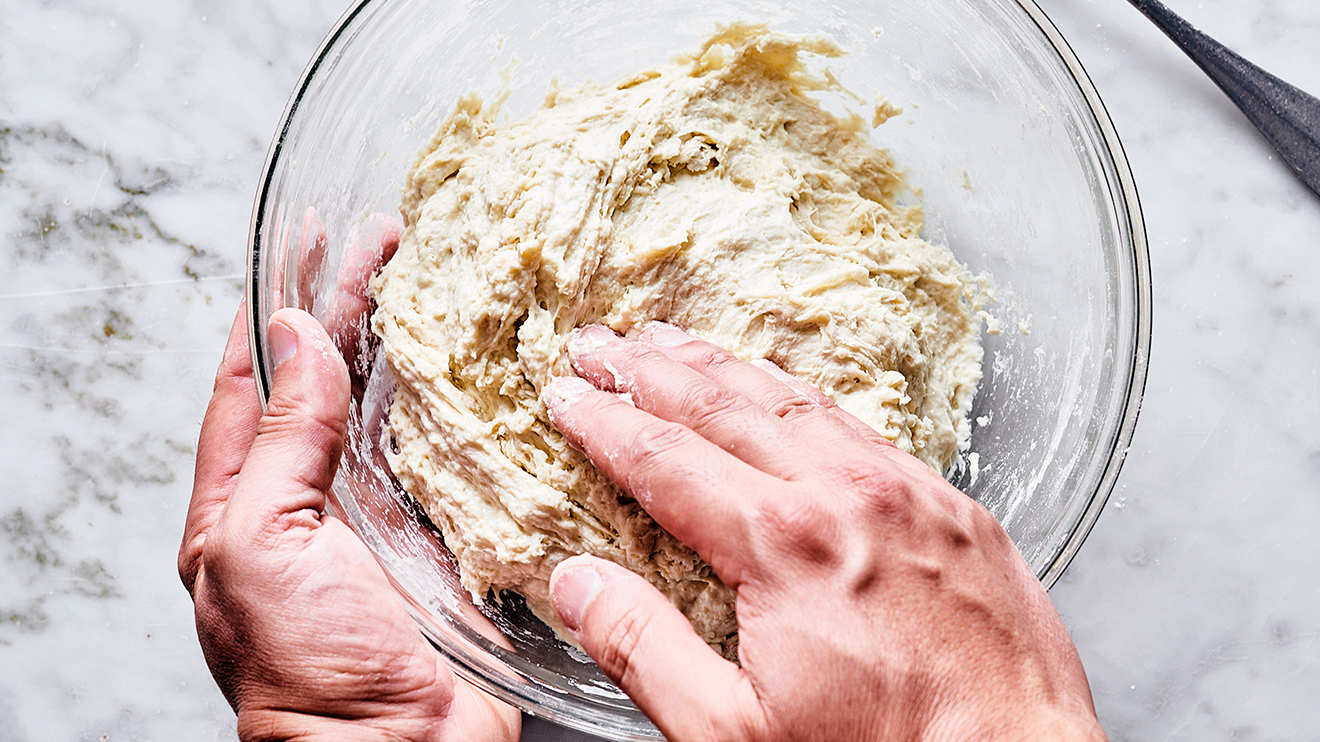
3. Pour the liquid into the centre of the dry ingredients. Mix with a fork until the flour is fully moistened. Finish mixing with slightly wet hands.
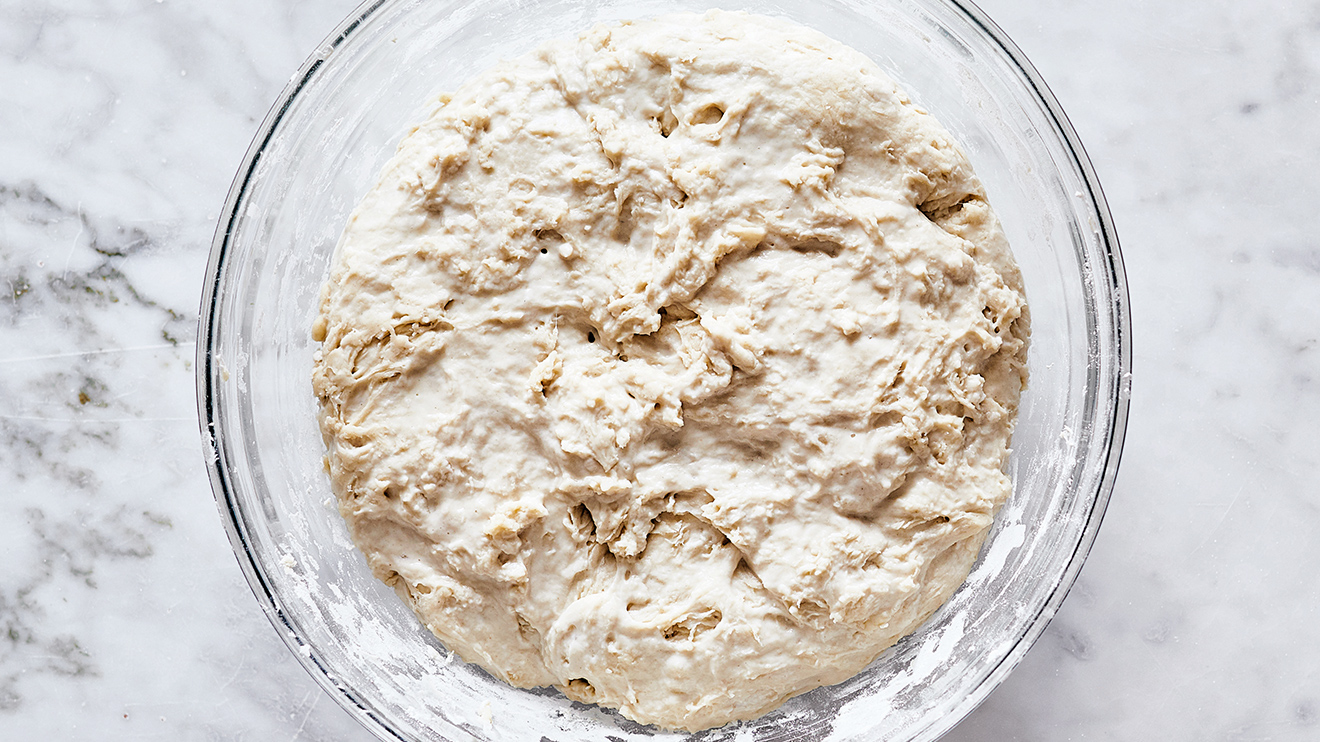
4. Cover the bowl with a lid or plastic wrap and let stand at room temperature for 5 to 8 hours or until the dough begins to rise and form bubbles.
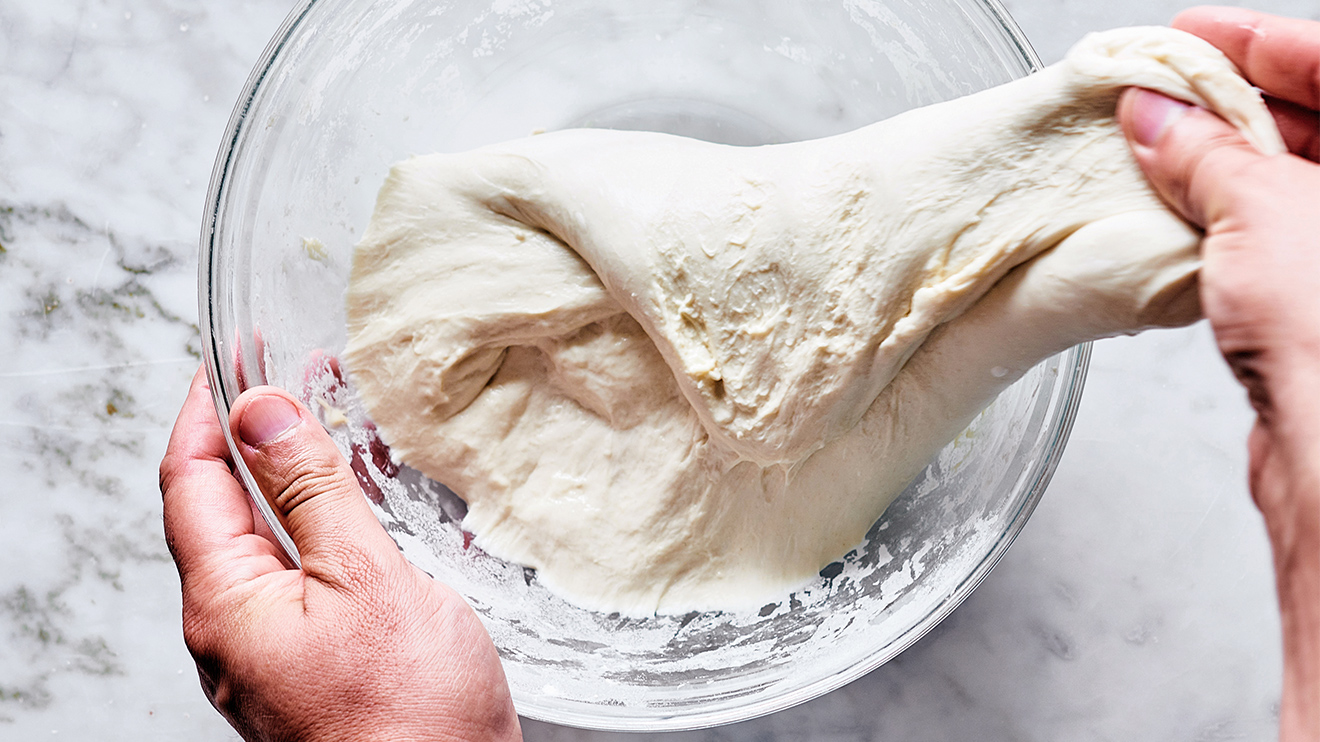
5. In the bowl, with your hands, stretch and fold the dough on itself 8 times by turning the bowl a quarter turn each time. Cover and let stand at room temperature for 30 minutes. Repeat this step 3 times.
6. Place a circle of parchment paper of the same size in the bottom of a cast iron pot or an oven-safe saucepan with a capacity of about 5 litres (20 cups) and equipped with a lid (not glass). On a floured work surface, flip the bowl with the dough upside down onto the flour. With floured hands, stretch the dough slightly to form a square. Join the corners towards the centre to form a round or oval ball, depending on the size of the pot or pan. Lightly flour.
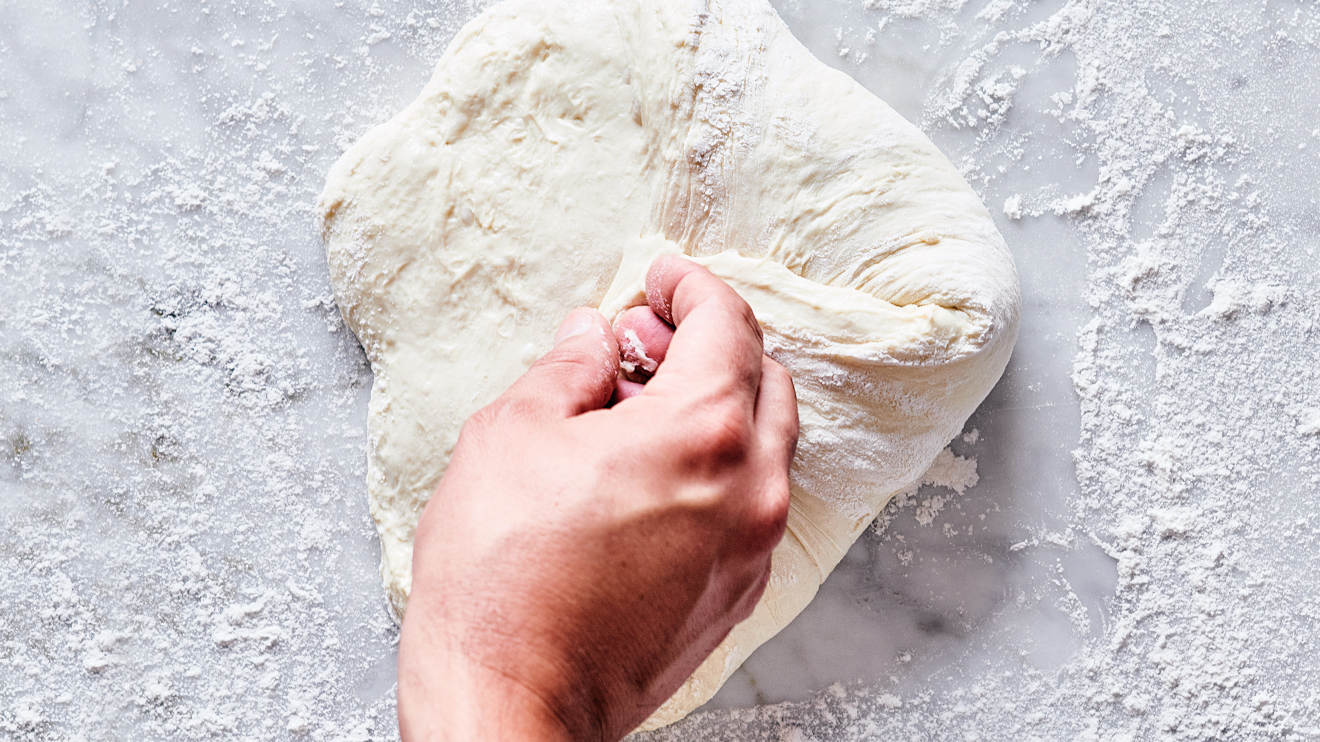
7. Using a dough cutter or with floured hands, quickly flip the dough over and place it in the pot, on top of the parchment paper. Adjust its shape as needed. Lightly dust the top and perimeter of the dough with rice flour; cover. Let stand for 1 hour or until the dough has reached 1 1/2 times its volume.
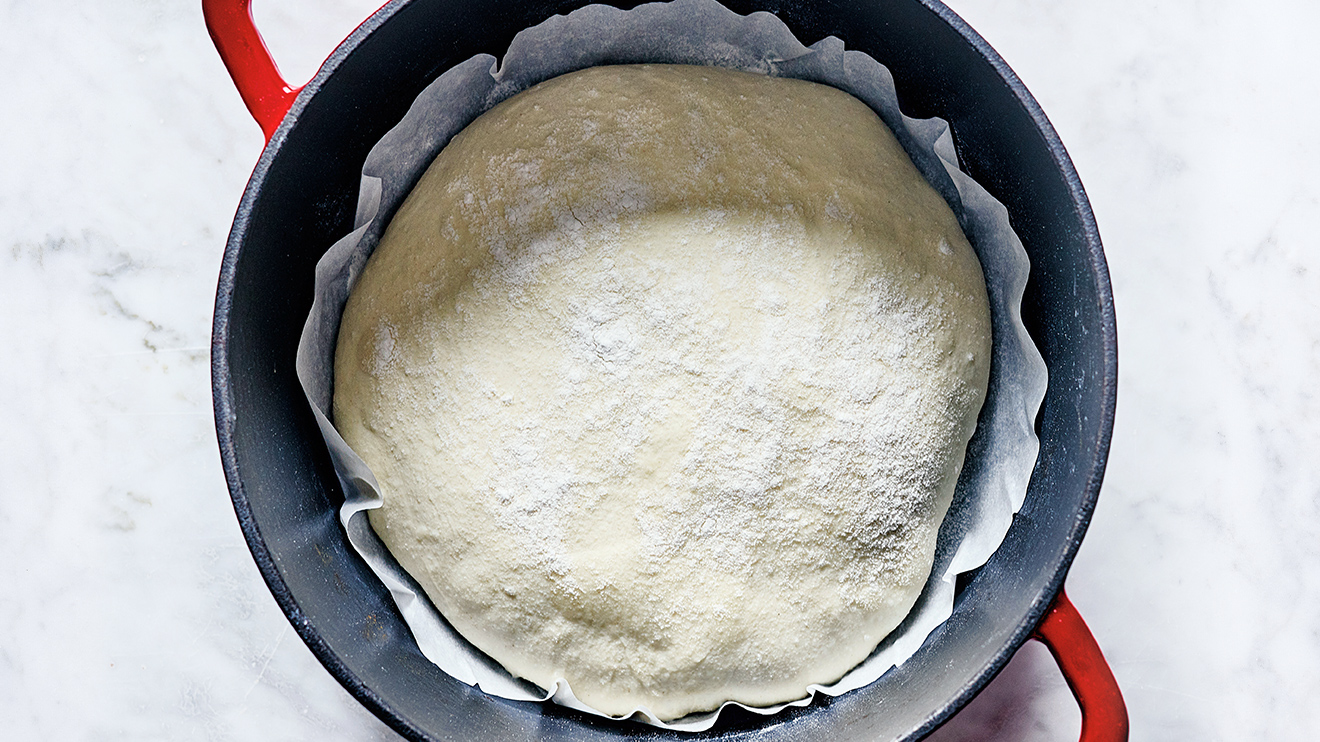
8. Place the rack in the centre of the oven. Lightly dust the surface of the bread with rice flour. Using a razor blade, make a long incision—or a few smaller ones—on the surface of the bread.
9. Cover again and place in the oven, turned off. Turn it on at 450°F (230°C) and bake for 30 minutes. Remove the pot and place it on a baking sheet. Remove the lid and then continue baking for 30 to 35 minutes with the baking sheet underneath.
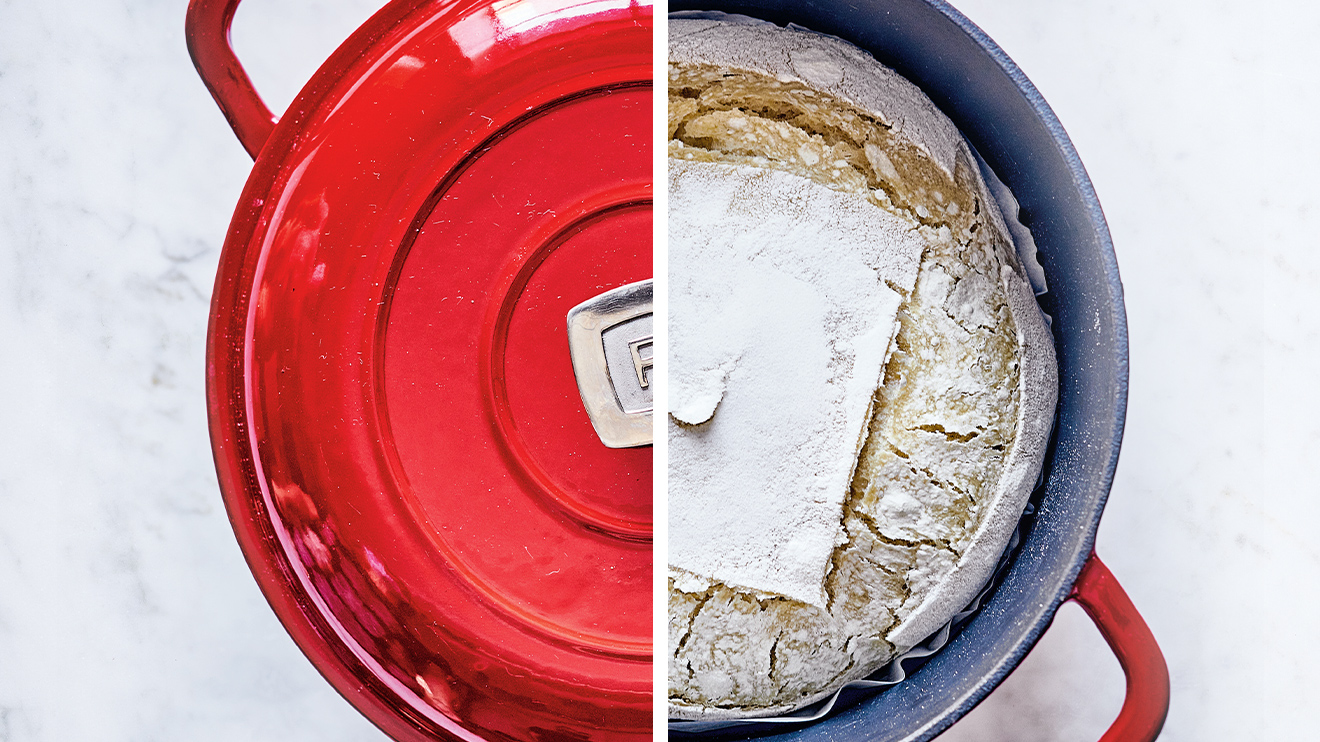
10. Turn off the oven and leave the door ajar for 15 minutes. This will allow the bread to release excess moisture, preventing it from sagging. Unmould the loaf, passing a small spatula along the sides if necessary. Let the bread temper on a rack for at least 1 hour before slicing.
Do you have some sourdough starter left after preparing your bread? Here are some recipe ideas for using it:
